Sorry for the delay between posts, and thanks everyone for looking at our site. We have been extremely busy getting ready to go. I am going to try to catch up over the next couple of days and bring the blog up to speed.
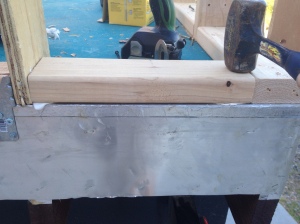
In this post We will take a quick look at the plywood top sheathe for our subfloor. We used 3/4 inch TnG plywood floor sheathing over the top of our very sturdy Subfloor Part 1 structure. We used PL400 subfloor glue liberally on every connection in the subfloor and now again we used a double bead of PL400 on top of every joist and brace. Quickly My wife and I carefully lifted and affixed the first piece of the sheathe, scraping and re-using the extra glue squeezed out as we screwed it down. The first sheet was a half-sheet and easy to place. The the middle 4 sheets were full 8×4, and required some muscle to lift into place without smearing the glue out. It also took several good whacks with “duck” my trusty rubber mallet to properly seat the Tongue and Groove. We were careful to leave the gap required by the mill, but used glue liberally on the underpart of the TnG seam. You may remember from The Subfloor Part 2 post that we used double blocking under each seam for a full 3 inches of support where the TnG joined.
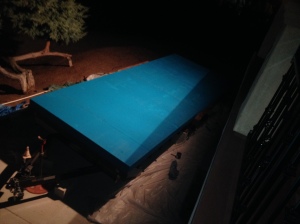
Once all of the pieces were glued and screwed, we let the glue cure for a day then painted it teal blue, using yellow to mark seams and places where the paint didn’t cover fully. I was to wrapped up in the glue process to take many photos,
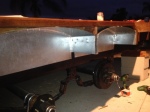
Here are some later photos showing the application of aluminum tape around the Edge of the floor, top and bottom. This tape was applied in two strips at each edge to protect the top edge of the plywood and cover the seam between the ledger board and the plywood, Then I used premium outdoor grade construction glue and staples to affix aluminum roll flashing around the entire floor edge. In Subfloor Road Guard we showed how we used 20 gauge galvanized steel to protect the bottom of the floor. Both serve to not only protect and seal the floor as well as make it real hard for critters to chew into it. We really don’t want water, rats or bugs in our floor… thanks anyway!
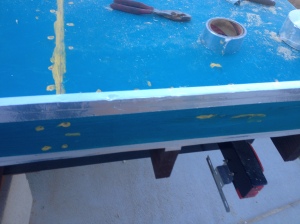
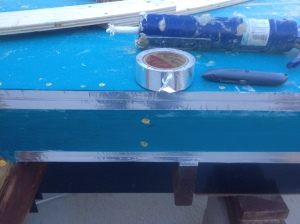
This last photo skips ahead a bit, but it clearly shows the aluminum flashing in place, which is what I needed.
